

When it comes to drywall finishing, there are several levels to choose from for your job. Knowing which level is right for your project and budget and the steps involved in achieving that level of finish are vital to ensuring you receive the best results.
Here is a guide to the five different levels of drywall finishing.
…….
…..
….
LET’S GO!!
What is Drywall Finishing?
Drywall finishing is the process of applying joint compounds and other materials to a wall surface to create a smooth, uniform look. It is before painting or application of other treatments. The overall quality of the finished result will depend on the drywall finish chosen, as each level requires different techniques and materials.
Benefits of Drywall Finishing
The following are the benefits of Drywall Finishing:
- Flexible Price Points: Drywall finishing costs vary depending on the type of boards used, the size of the job, and the level of expertise required. It makes it easy to find a price that fits any budget and allows for tailor-made solutions.
- An Additional Layer of Protection: Drywall finishing provides an additional layer of protection against water and mold. It also helps reduce air infiltration and noise from outside sources.
- Added Safety Features Available: Drywall finishing provides additional safety features, such as fireproofing. This feature helps protect the home or building from fire. Drywall finishes offer an additional layer of protection against impacts, helping to reduce the risk of damage or injury.
- Easily Repairable: If your walls become damaged, repairing a drywall finish is relatively easy. You can remove the damaged section, apply a new layer of joint compound, and sand down the area until smooth. It will save you time, money, and energy compared to replacing the entire wall.
- Endless Finishing Options: Drywall finishing offers a wide variety of options for customizing the look of any room. From paint colors to textures, you can create the perfect look for your home or office.
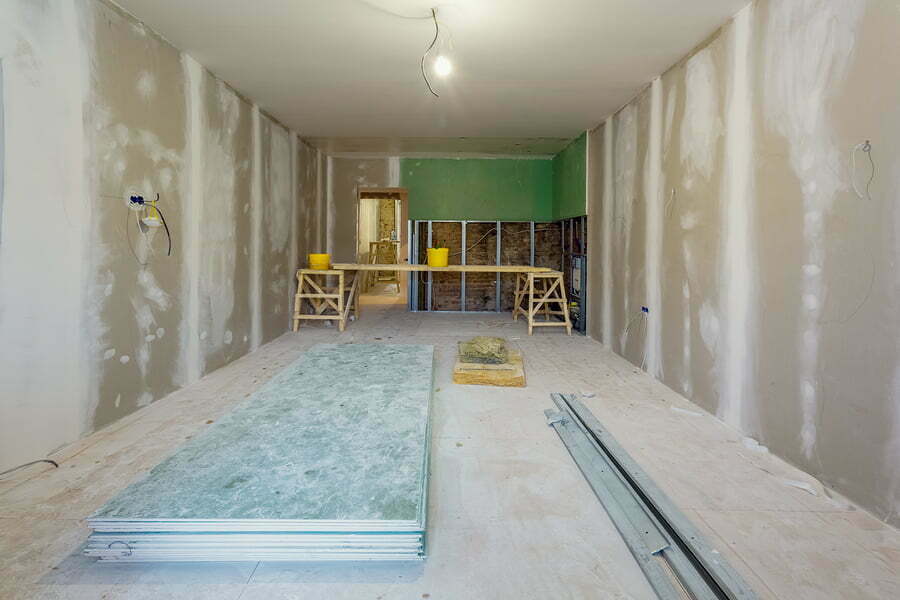
Hanging Drywall
Once you have a blank canvas and the structure is done, it will be time to hang your drywall.
Ensuring you purchase enough drywall if you’re doing this project by yourself is CRUCIAL. Running out of material takes time and money for yourself and your contractor.
You will want to measure each wall and cut your sheets about a qtr inch shorter to ensure everything fits.
The less drywall you have to cut and piece together, the better.
Hang the top rows first and avoid lining up the seams. Screw your drywall screws into your drywall, starting from the center outward. Be sure you are screwing into the studs. (16 inches apart)
Take your time installing drywall around windows, doors, outlets, etc.
Install corner beads on all corners, as it will create an even seam and appealing finish.
Unfinished Drywall
Unfinished drywall is the most basic type of drywall; it is not covered with any joint compound. It is often the choice for walls hidden by another material, such as wallpaper, furniture, or appliances, because it allows for a rustic look in certain types of décor. It is more lightweight, making it easier to carry and hang.
You can use it in areas with low ceilings, such as basements, or in other tight spaces where normal drywall would not fit. Additionally, unfinished drywall is ideal for use in high moisture levels areas, such as bathrooms and laundry rooms. While it may not provide the same level of fire rating as standard drywall, it is still an excellent choice for many home renovation projects.
Light Sanding
Light sanding is an effective way to smooth out any imperfections on drywall and create a uniform look. It is common in residential applications, such as bathrooms, kitchens, and commercial spaces.
To ensure a successful sanding job, you must wear a double-strap dust mask rated for nuisance dust and goggles to keep the dust out of your eyes. After sanding, use a damp cloth or vacuum to remove any dust residue. Following these tips and techniques will ensure a successful light sanding job.
Joint Compound
A joint compound, or mud, is a ready-to-use paste of gypsum dust mixed with water used in drywall installation. It is applicable over the seams between drywall sheets and any other areas that need patching or filling.
The joint compound is spread using a trowel and allowed to dry. Once dried, it provides a smooth, seamless layer that creates a strong bond between the drywall sheets and provides a uniform surface for painting or other decorative finishes.
Primer and Paint
Primer is an essential step before painting, as it helps to prepare the surface for the paint. You can apply Primer to masonry, drywall, and other surfaces to seal the pores, which helps to create a uniform appearance. In the case of drywall, primer also helps the paint adhere better and seals the material to protect against moisture and mildew.
Two coats of paint are usually recommended, with the second coat providing a sealant over the first layer to achieve a more decorative finish. Applying Primer before painting is essential, as it will ensure that the finish looks great and is long-lasting.
Texture and Finishes
Texture and Finishes refer to the highest quality of drywall finish. You can apply a range of textures and special finishes to provide a unique look to the drywall. It includes sprayed textures like orange peel, knockdown, and sand swirl, which are applied using a hopper gun. Special finishes such as Venetian plaster, stucco, and metallic finishes can also create an impressive effect.
These finishes can make walls look more elegant and help hide imperfections. When metallic finishes are applied, light will reflect off the surface, creating an eye-catching design. Furthermore, these finishes can add texture and depth to the walls, enhancing the overall look.
Drywall finishing plays an essential role in the quality of a finished product. Understanding the various drywall finish levels and how to apply them to your project is vital to achieving the desired result. Each level provides something different, from Level 1 to Level 5, from the smoothest finish to a highly detailed, textured end product. With the proper knowledge and approach, you can create a beautiful, finished wall that lasts years.
Are you looking to have your drywall hung or finished in SWFL?
Contact us for a FREE quote!
Follow our blog for upcoming content on the different levels of drywall textures and finishing!